Race Report – WERA West 2016 Round 4 – Auto Club Speedway – Yamaha R3

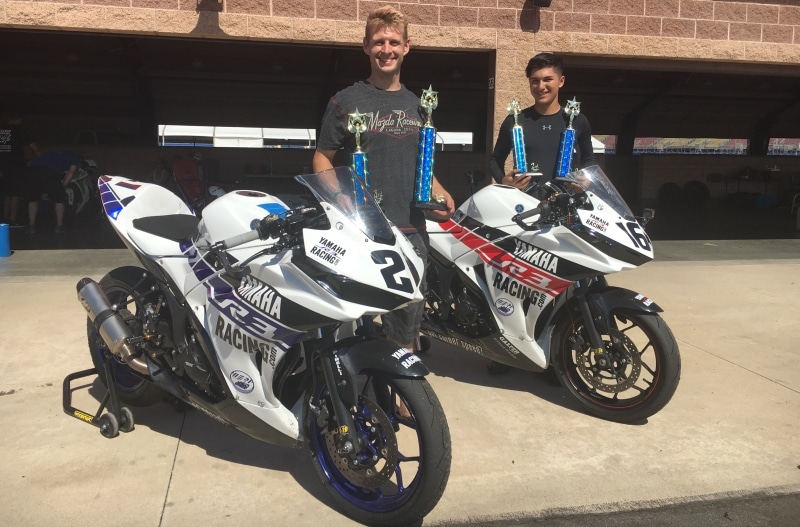
Team YamahaR3Racing.com was out in full force the weekend of July 23-24th at Auto Club Speedway in Fontana, CA for the WERA West Round 4. I showed up for the track day on Saturday to get some practice on the small bike since I hadn’t ridden ACS for a few years, and the last time was on my R6. Zeke raced here a year ago on a Ninja 250, so he was at the track with me but not riding until Sunday. Yoyodyne had just released their slipper clutch for the R3 a couple weeks ago and I installed one on my bike to put through the ringer during the track day and races. ACS would be a great place for it, since twice per lap I was dropping from 6th gear to 3rd in a hurry.
The track day was a lot of fun. I didn’t really know what lap times to expect out of the R3. All I had heard is that some of the KTM cup bike kids were running times in the 1:48s, but rumor was that they may have been on street tires, not proper race tires or spec tires. I was starting out the day with the Yoyodyne slipper clutch installed using the Yamaha stock clutch springs and the thick supplied spacers (less preload on the springs). With this configuration, the clutch should slip very easily and have very little engine braking. I also had with me a set of much stiffer Barnett clutch springs that would reduce the slip (these are included with the kit now), and thinner preload spacers that would increase the preload on the clutch springs to further reduce the slip and provide the maximum engine braking. I wanted to test both extremes so I could offer some feedback on the differences.
I was also planning to do some more fuel map tuning this weekend. I have put together some very solid base maps, but through my dyno testing project, I have discovered just how much variation there can be in a bike’s air/fuel ratio on different days, in different weather, using different fuel with the same tune. So now I wanted to start fine tuning for each race to try to maximum horsepower at each event. I would be using my Bazzaz Z-AFM auto tuning module. My Z-AFM is pretty old, and with my previous R6, I suspected that the readings on my Z-AFM were a little off. When my bike was on the dyno, I turned on my Z-AFM and compared the readings on the Z-AFM to the readings on the dyno. Mine is off about .6-.7. Which means when I was at peak power on the dyno at about 13.3-13.4 AFR, my Z-AFM was showing 12.6-12.7. So now I know to set my Z-AFM target to 12.6-12.7 and tune for that. This is why I always recommend you take your bike with your Z-AFM or Power Commander Autotune to a dyno shop and do a couple pulls to compare your readings with the readings on the dyno’s O2 sensor to effectively calibrate your Z-AFM, so you know where to set your target AFR on your specific tuner to achieve the ideal 13.2-13.5 for the R3.
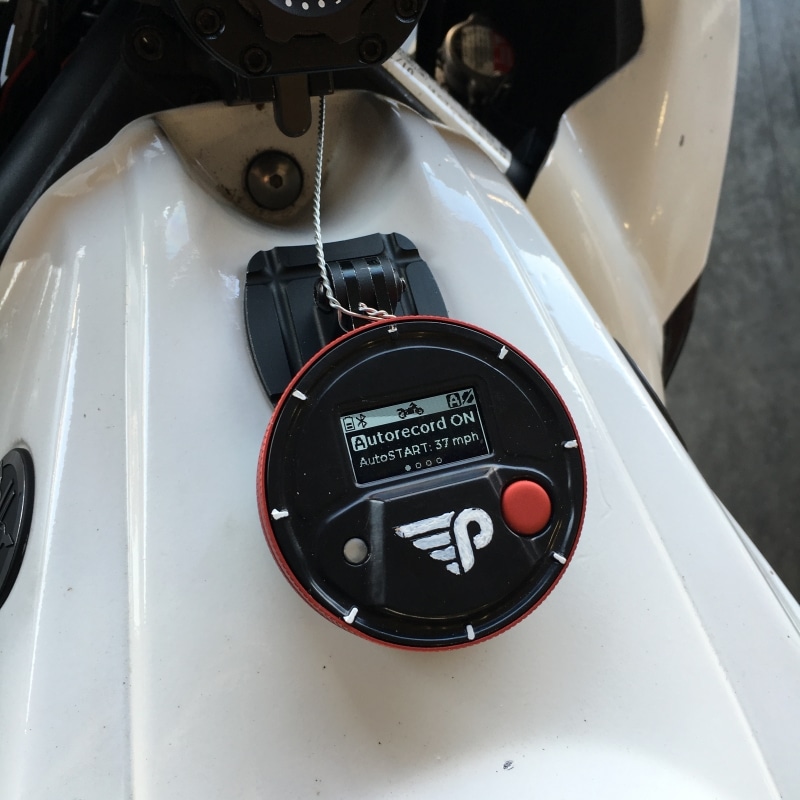
Also, during the rider meeting, a new company displayed a product they were working on that was pretty interesting. The company is Push Industries, http://www.pushthelimit.net/, and they make a GPS data collection unit unlike any I have seen before. You mount this little unit on your bike, and it tracks your GPS position. There are a lot of other things it can do, but the feature that caught my attention was that when you are done, you can download the data and view it in their software and get a virtual follow cam of your bike’s path around the track. They have teamed up with another big company who’s name I forget, but they have access to over 800 different track maps that are already simulated, so chances are you can link up the one you are riding. Immediately after the rider meeting I intercepted the presenter, Craig, and discussed doing a demo. I wanted to see this tracking linked up side by side with GoPro footage to get a first person and follow view of my riding around the track so I could see my lines and mistakes. What a brilliant product. They had mentioned that they were just starting pre-sales and units would be available by Fall. If this thing is as cool as I think it is going to be, I will be carrying it here on YamahaR3Racing.com.
I went out for the first 2 sessions to get used to the track again and get up to speed. I was running around 1:50-1:51, which seemed like a decent warmup. The bike is still feeling amazing. And the slipper clutch…WOW!!!!!!!!! What a difference!!!! For those of you who haven’t run ACS on a little bike…watch the videos below to get a feel for it. You come out of the last left turn wide open (which I guess is turns 18-20, but really it’s 1 turn) in 5th gear, bump up to 6th a little ways into the straight away, then it’s wide open in 6th gear down the long ass banked straight, hold it pinned as you ride right up next to the wall, then keep it pinned as you bounce off the rev limiter at the top of 6th gear and dive down off the banking through turn one (which is really 2 turns), keep holding it pinned as you flick it back right as quick as you can and then back left again, and still keeping it pinned through the long turn 2 until the brake markers for turn 3, where you quickly drop 3 gears and try to settle the bike before throwing it into the sharp left-right chicane, turns 3-4. So on this track map, you’re pinned from the 19 until just before turn 3 where you drop 3 gears.
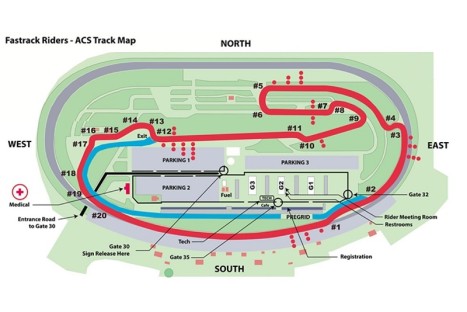
You’re also pinned from turn 9 until turn 12 where you drop 3 gears again. That’s a great test for a slipper clutch, and upon dropping 3 gears, the slipper does exactly what it’s suppose to, it slips and you can hear the clutch spin up, but the rear wheel stays planted. What a different experience, and SOOOO confidence inspiring. It’s been awhile since I rode my R6 with it’s slipper, but it’s so nice to have it back.
Before going out for my 3rd session, Craig came over and we mounted up one of the prototype Push GPS trackers on my bike.
I also turned on my Bazzaz Z-AFM to start taking AFR measurements. At one point during the previous session, I entered the long straight just behind a Ninja 300 so I pulled out of the slip stream to drag race and see how my bike was running. The Ninja had a standard full exhaust/PCV, but no engine work, I should have been able to motor by without trouble, but our bikes were dead even. This is exactly what I was here to work on with the Z-AFM. It reached 108 degrees during the track day, and my map was surely a little off given the conditions. It’s impossible to have a map that always works perfectly, so I wanted to test the Z-AFM and figure out a method for optimizing my bike for races without screwing with the map too much. I took note that at top speed, just before diving into turn 1, I was hitting 112-114 on my speedo (which is a little off from gearing, but just using it for reference).
I ran 2 more sessions, getting a good feel for the track and the slipper clutch before I made any changes. I dropped down into the 1:49s, then in to the 1:48s. With the clutch setup the way it was, there was almost no engine braking anywhere on the track, every corner was as smooth as butter and I controlled my speed completely with the front brake. I could smoothly roll off throttle a little earlier than usual and not lose speed as I setup for the corners.
When I came back in, I retrieved the AFR data from the Z-AFM. I reviewed it carefully and compared it to a few other maps I have. I took mental note of the areas it wanted to change for when I went back out on track, and made the changes. Then, I opened up the clutch and swapped the stock springs out for the Barnett springs and swapped out the preload spacers to increase the preload. This change would take me from one extreme to the other, and now the clutch should be much tighter and not slip so easily. It should increase engine braking.
As I pulled out of the garage, I immediately felt the stiffer clutch which now had some engine braking and was more grabby when I rolled off the throttle heading toward track entry. On track, the throttle response exiting the corners was definitely different, I couldn’t make up my mind if it was better and more powerful, or just less smooth. I was still thinking about it as I exited turn 20 onto the straight. At about start finish, I looked down and was already passing 114 with a good third of the straight left. By the time I turned in, I think I was at 116 or maybe more. I kept tracking the fuel for a couple more sessions, and made a few changes here and there, but I’m pretty sure it helped the top end. I’d get to see a little better in the races how my bike fared against the others.
On Sunday, I signed up for the E Superstock Expert and Clubman Expert races. Zeke and I needed 2 rounds in ESS to qualify for the WERA GNF in October if we decided to go. The ESS race was only 7 bikes, include Zeke and I, Austin Quinn, who came down from Northern CA, and Bobby McCarron, someone Zeke and I regularly raced at Chuckwalla. Austin is a fast rider, but this was his first day at Autoclub Speedway, so I wasn’t sure how his pace would be.
First race was Clubman Expert. Marc Rittner jumped out front on his 450 supermoto at the start. Zeke and I had a few battles back and forth, but I got back in front and started to pull away, closing the gap to Marc. On the 2nd to last lap, I overshot turn 8 and went in the grass for a brief moment before I could get the bike turned and back on track. It gave Zeke enough time to pass me and open up a little gap. I pushed hard for the next lap and a half trying to catch back up but wasn’t able to. Zeke took 2nd I took 3rd.
Here’s a good shot of Zeke and I hard on the brakes coming in to turn 12.
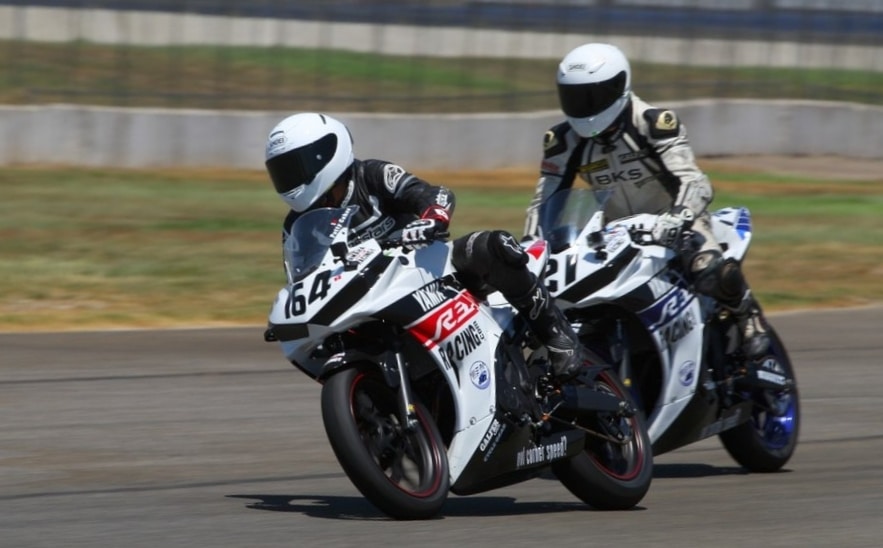
Second race of the day for me was ESS Expert and was probably the most frustrating race I’ve ever run. Once again, WERA ran the E Superstock race together with the D Superbike race. This is unfortunate, because again, it meant we spent the majority of the race swapping positions with the higher horsepower/lower corner speed DSB riders, rather than racing each other, but whatever. I got a decent start, but Austin Quinn got a great drive off the start and passed me before the first corner. We caught the DSB riders in the corner and the shit show began.
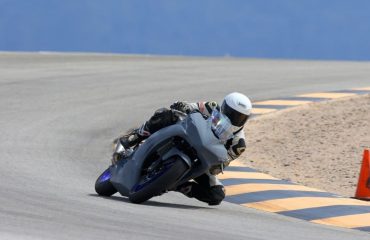
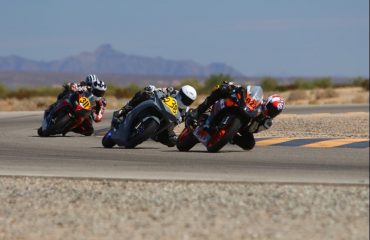
I recommend watching the video below, it tells the entire story, but this photo of me trying to squeeze through turns 2 and 3 without losing all my momentum sums it up pretty well:
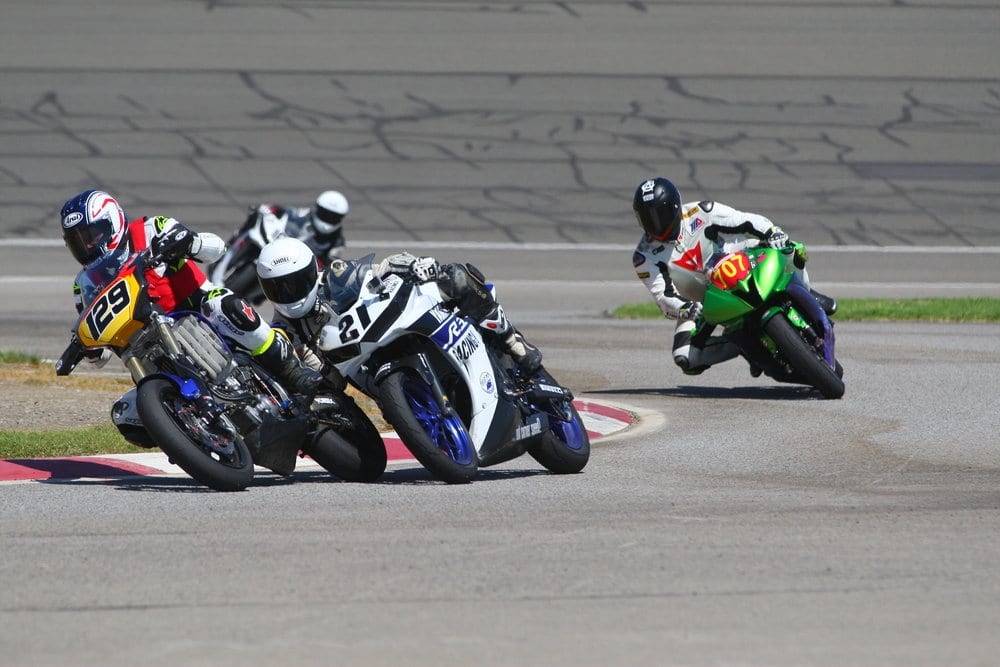
Here’s turn 9 of the first lap where Austin runs a little wide and I came up the inside to take the lead.
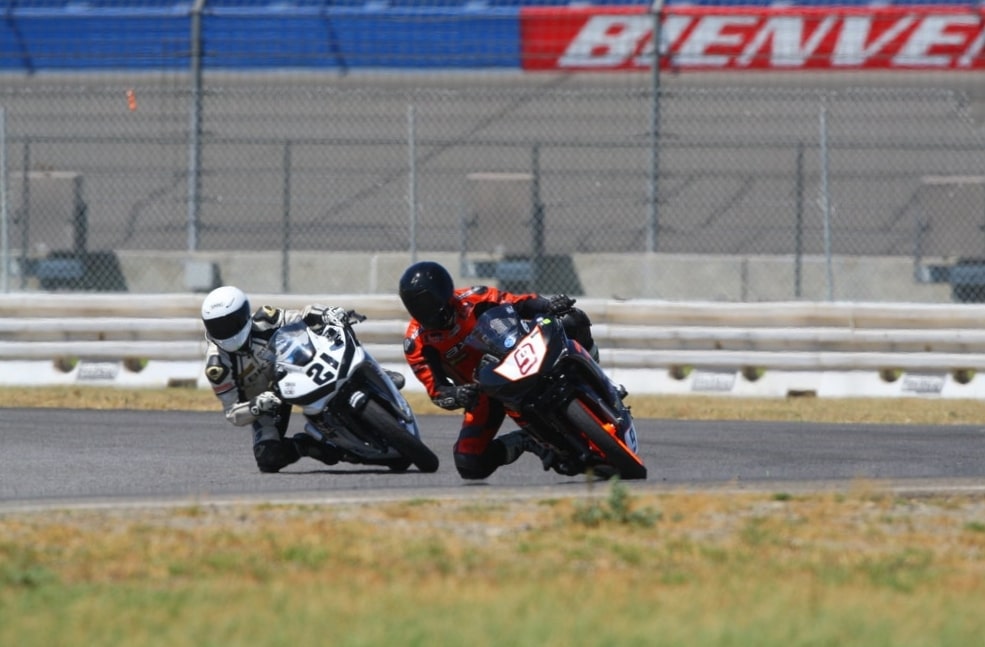
WERA E Superstock Expert Race 7-24-2016
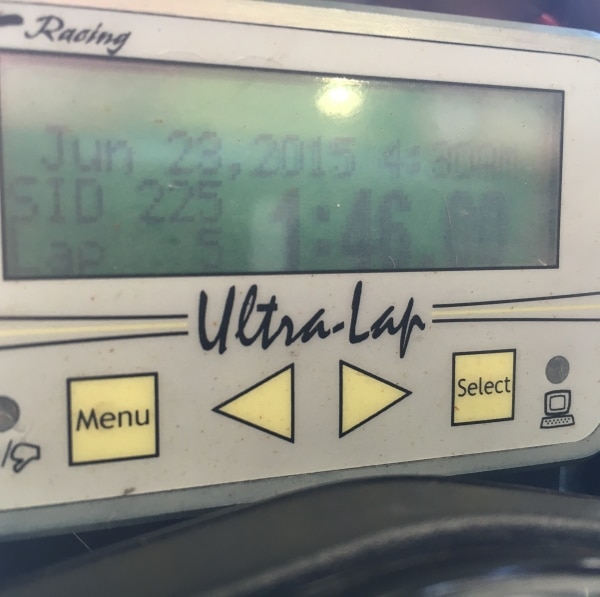
At one point near the end of the race, you see me try to out brake the 2 bigger bikes to get some clear track and blow turn 12. Rather than come back on the track, I decided, screw it, and just went straight past a couple corners and headed on to the back straight to take the win in ESS. Zeke took second behind me. As frustrating as it was, it definitely pushed me harder in a few places and probably make me faster. I did a 1:46.0 in the race, even with all the traffic. Not too shabby.

You must be logged in to post a comment.